Use Spray.Bike
Spray.Bike is a bicycle paint spray with innovative powder coating that was developed for both beginners and experienced painters.
Spray.Bike is a dry powder coating developed exclusively for bicycles. The acrylic mixture contains dry particles that form a thick layer around the frame of your bike.
The innovative acrylic formula makes Spray.Bike perfect for customizing, repairing and restoring your bike.
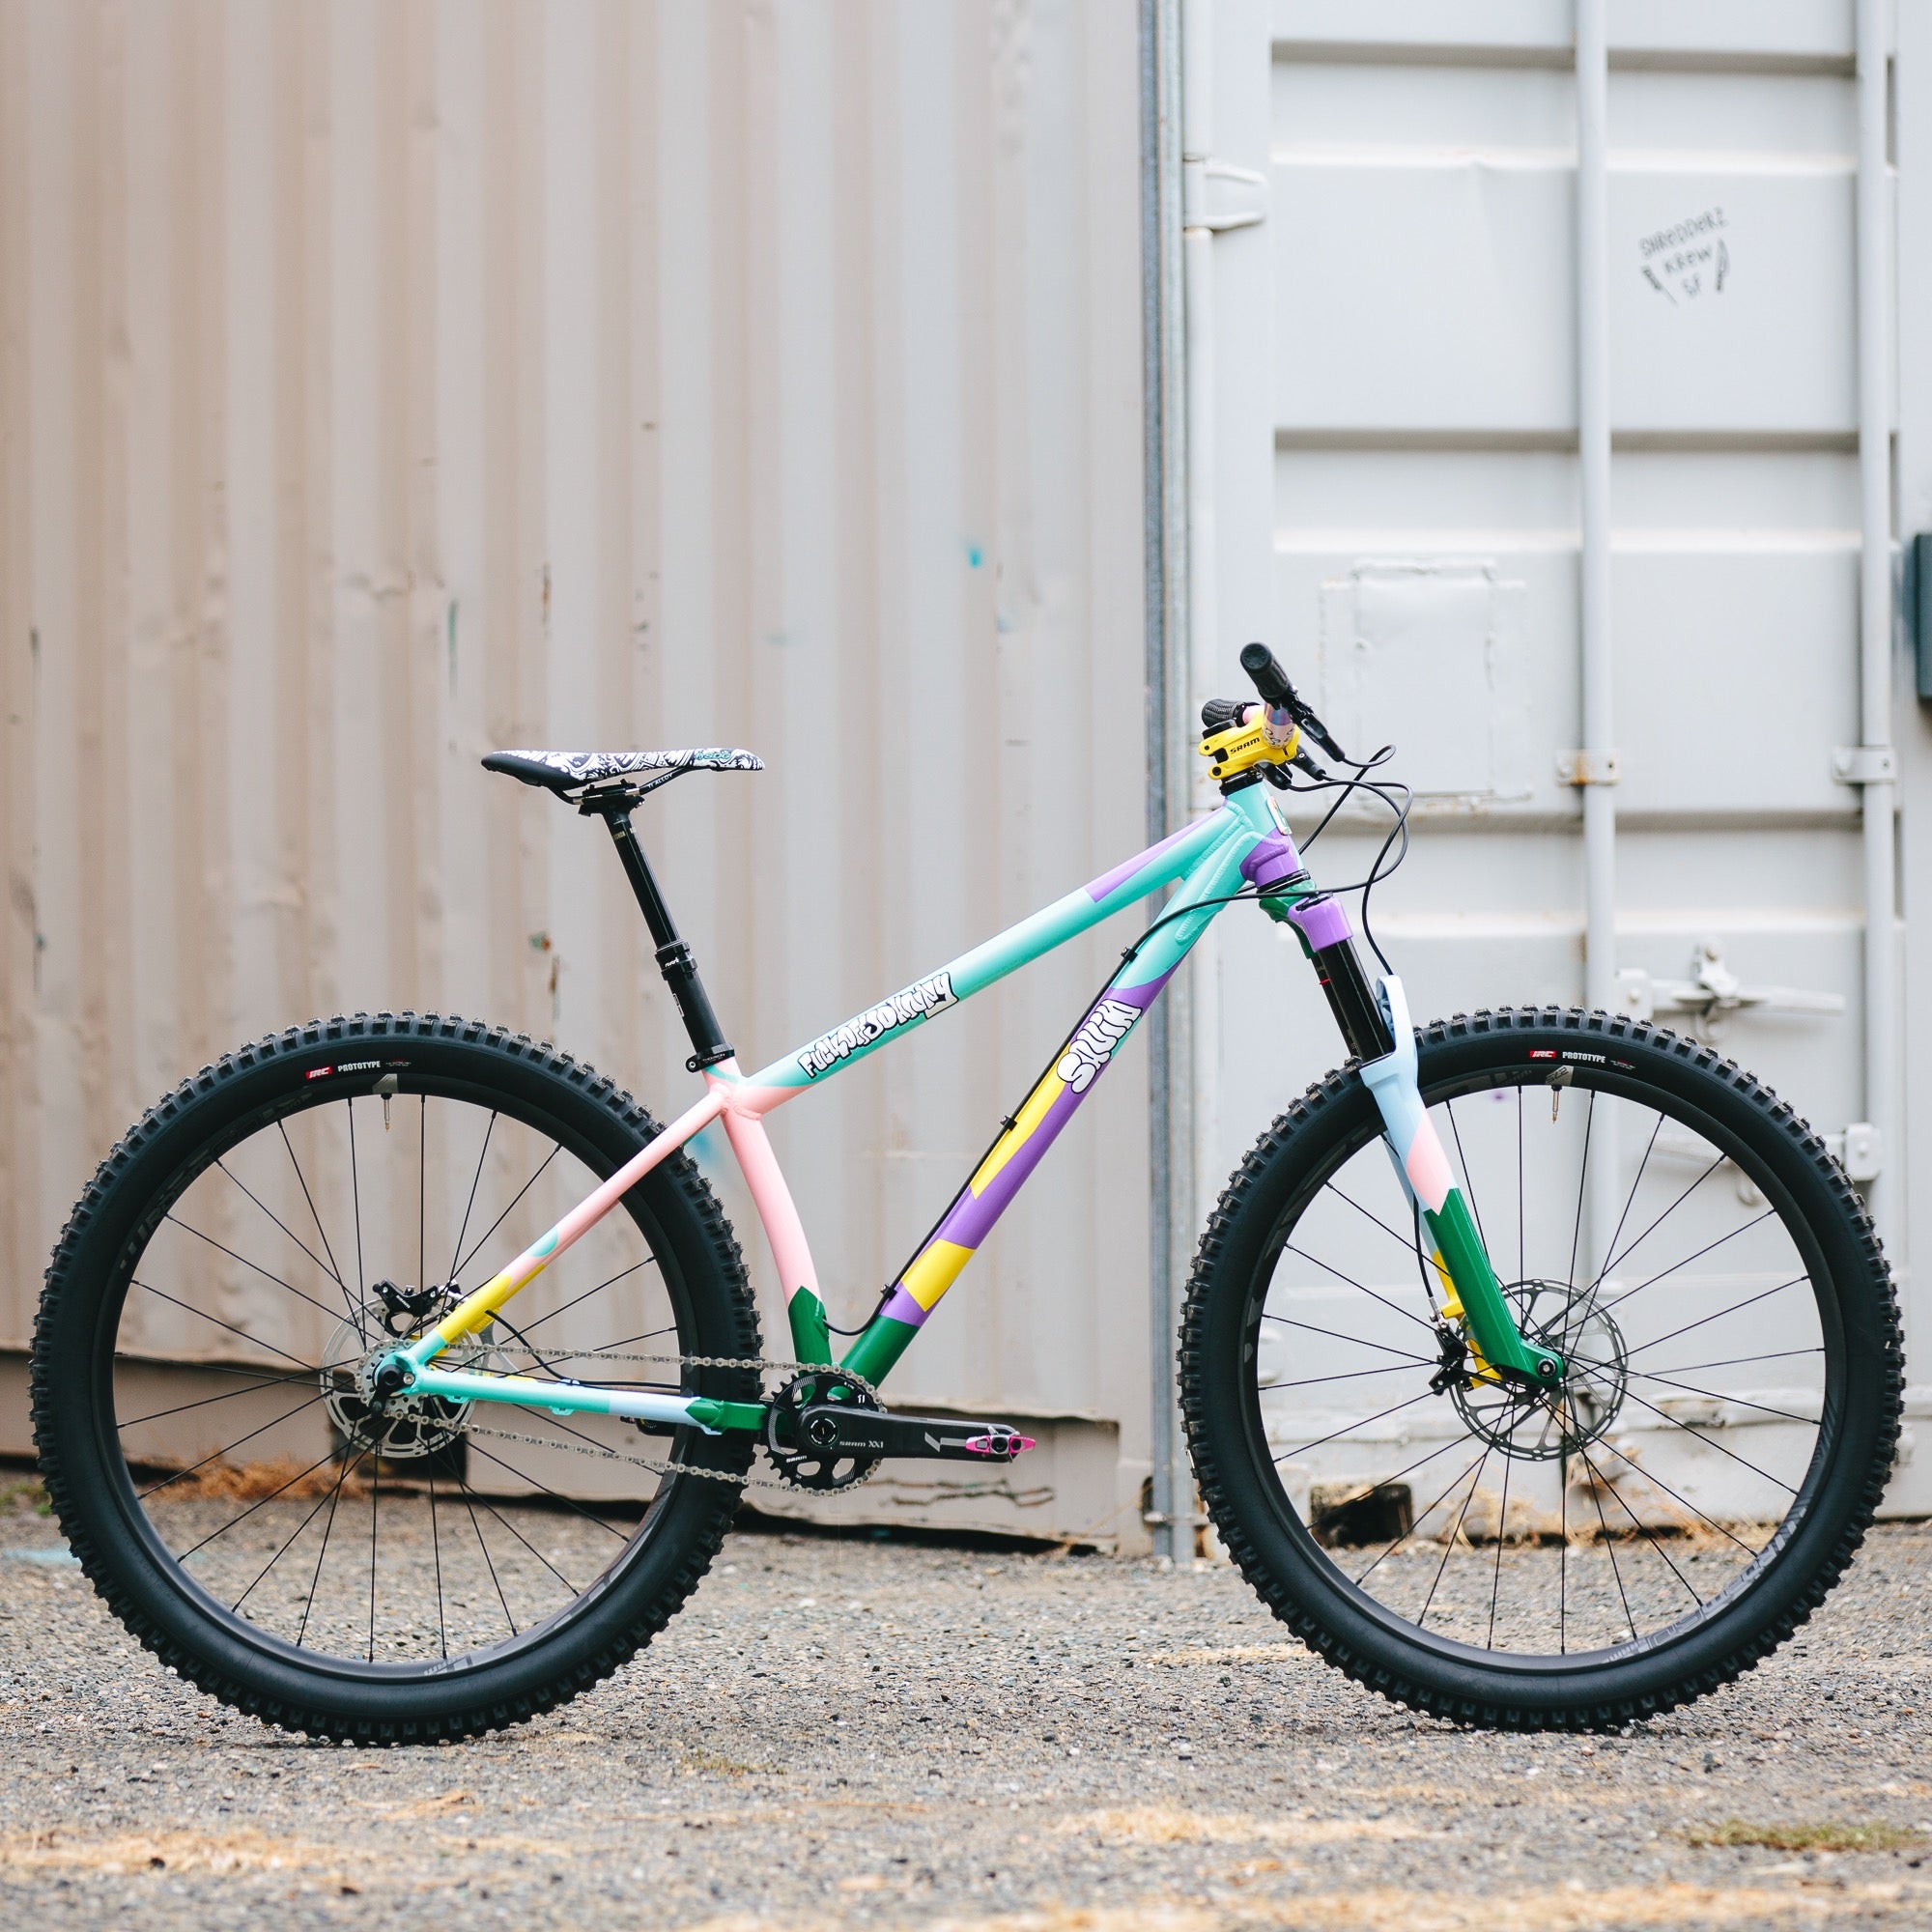
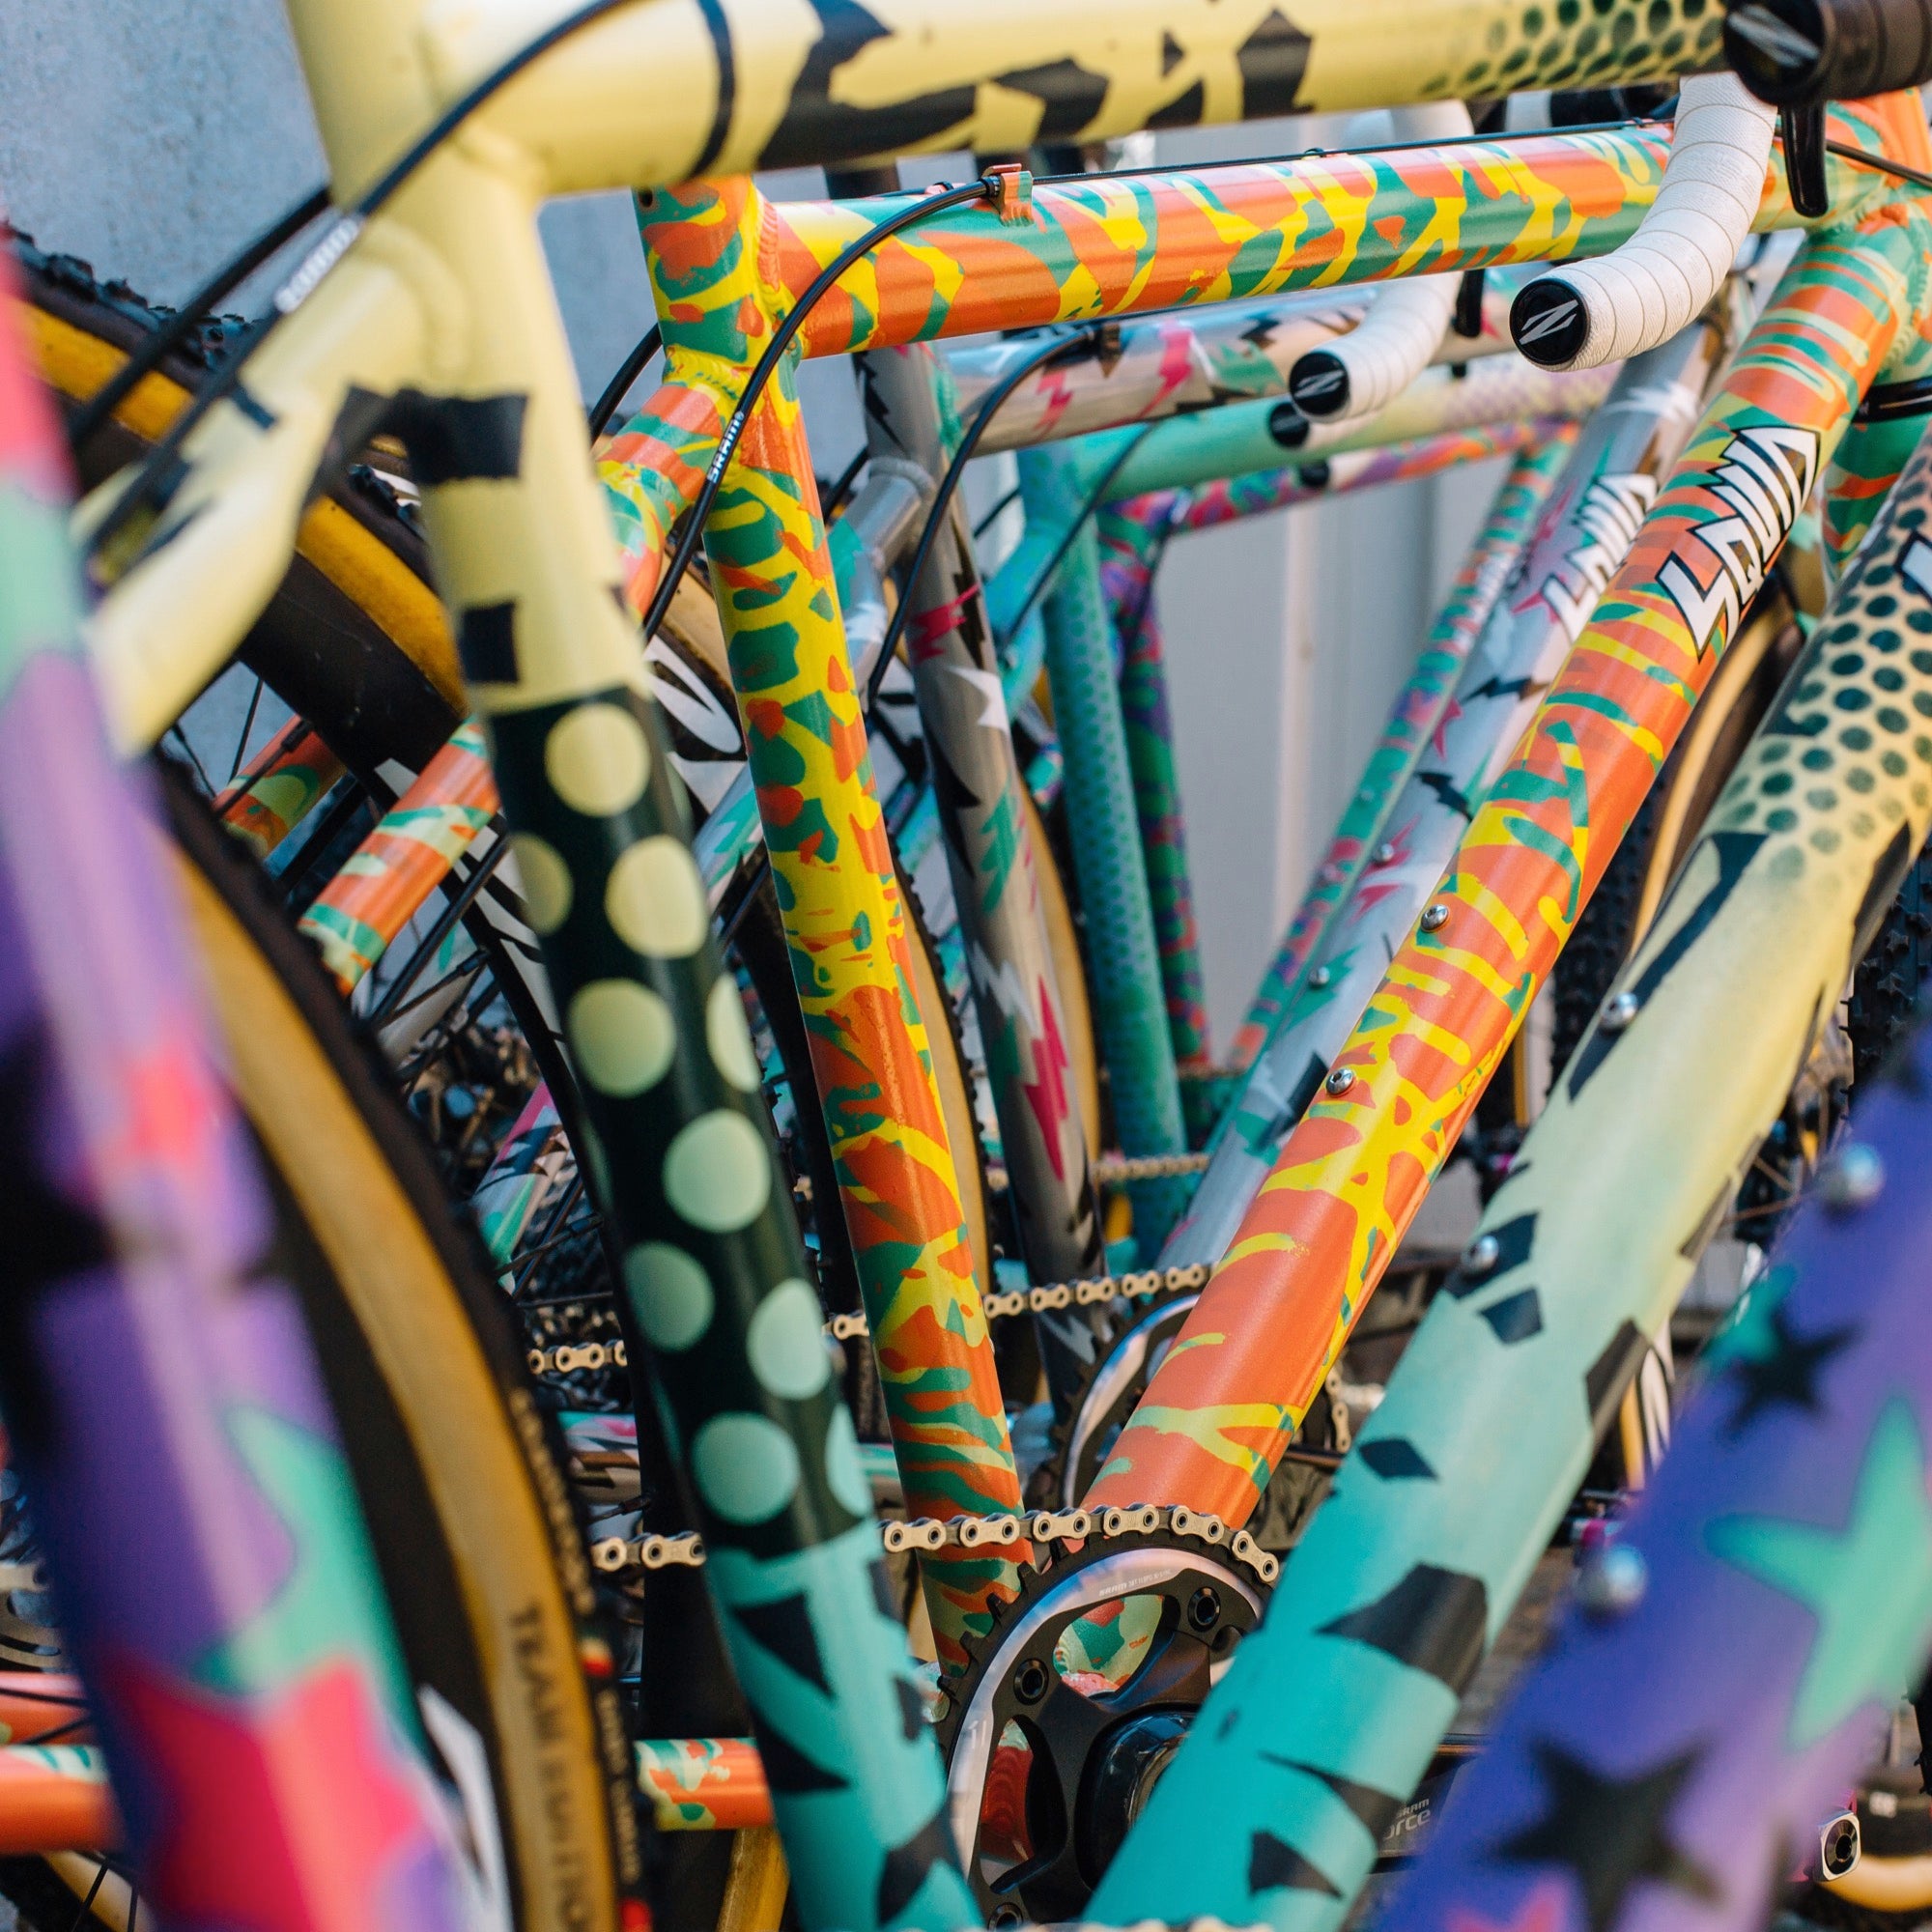
Here you will find photos of the wonderful projects that people around the world have implemented with Spray.Bike.
Technical details of the standard colours
- Acrylic paint mixture with extremely high opacity
- Dry powder coating
- Innovative anti-drip formula
- No primer necessary
- Ideal for steel, aluminum and carbon
- UV resistant: no fading
- Strong, matt colours
- Easily create colour transitions, stencils and fade effects (see below)
- Requires no subsequent heat treatment or “baking”
- Available in practical 400ml and 200ml spray cans
- 1 x 400ml spray can
- With a 400ml spray can you can paint a standard adult bicycle including the fork in one coat
- Recommended coats of paint: at least 1
- Use the Spray.Bike Frame Builder's Transparent Finish - Satin/High Gloss for a semi-matt or glossy surface
- Use Spray.Bike Frame Builder's Transparent Finish - Matt for a matte finish
- For long-lasting protection (whether your finish is matte, satin or high-gloss), apply Spray.Bike Frame Builder's Top Wax regularly
Instructions for use
- Make sure the surface is clean and dry
- Wear gloves, protective clothing and a breathing mask when using
- Always paint outdoors
- Shake the spray can vigorously for about 3 minutes before use
- Do 2-3 test sprays before starting
- Optimal ambient temperature when spraying: 20-25°C. Do not use Spray.Bike at outside temperatures below 10°C, above 35°C or relative humidity above 75%
- Only spray with the spray can in a vertical position. Otherwise the paint could apply unevenly
- Standard colours: The optimal spray distance is 5-12 cm
- Pocket Clears, Frame Builder's Smoothing Putty, Frame Builder's Transparent Finish, Frame Builder's Cold-Zinc, Frame Builder's Metal Primer, Frame Builder's Carbon Primer, Frame Builder's Metal Plating: The spray distance is at least 20 cm
- Keirin Flake and Keirin Sunlight: The optimal spraying distance is at least 30 cm
- Frame Builder's Top Wax: Spray onto a microfiber cloth or kitchen paper and then apply carefully
- Always keep your hand moving while spraying
- Allow the paint to dry before applying a second coat (touchable after 10 minutes, completely dry after 2 hours)
- After the first use, please spray for 2 seconds while holding the spray can upside down. This will prevent paint residue from drying in the feed tube
- Store the can well protected from sunlight and ambient temperatures above 50°C/122°F
ATTENTION: If you want to paint a brand-new, high-gloss metal frame, roughen the surface a little with fine sandpaper beforehand. This creates a surface to which Spray.Bike adheres optimally. If you completely remove paint from a frame, you definitely have to use a primer
|
Spray distance |
|
|
All standard colours |
5-12cm |
|
Pocket Clears |
at least 20 cm |
| Keirin Collection | at least 30 cm |
| Frame Builder's Top Wax |
Spray onto a microfiber cloth or kitchen paper and then apply carefully |
Preparation
Spray.Bike paint adheres to most raw and painted metal surfaces without much preparation. If you want to paint a brand-new, high-gloss metal frame, roughen the surface a little with fine sandpaper beforehand. This creates a surface to which Spray.Bike adheres optimally.
Make sure the surface is clean and completely free of cleaning agent residue. Any microfilm left over from degreasing or cleaning products can create a barrier that prevents Spray.Bike from adhering properly. We recommend medical alcohol as the ultimate cleaning agent before painting - but please make sure you have removed all residue before you start spraying.
NEVER use acetone or a cleaning product containing acetone. This inevitably leads to a weakening of Spray.Bike as acetone is a component of the paint mixture.


Using the Frame Builder's Prep & Finish Collection
Here along
Spraying process
It is extremely important that you adhere to the following spray distances. This distance describes the distance from the spray can in your hand to the surface you want to spray. It depends on the spray you want to use:
- Standard colours (BLB, Pop, Historic, Vintage, Neon, Pocket Solids): 5-12 cm
Since Spray.Bike cans are under pressure, there is an optimal distance at which the paint works best when it leaves the nozzle: 5-12 centimeters. In this “window” the paint is semi-wet and the colour pigments are perfectly bound. Errors may occur below 5 centimeters. After approx. 14 cm the paint becomes a dry powder dust with very low adhesion.
- Pocket Clears, Frame Builder's Smoothing Putty, Frame Builder's Transparent Finish, Frame Builder's Cold-Zinc, Frame Builder's Metal Primer, Frame Builder's Carbon Primer, Frame Builder's Metal Plating: at least 20 cm
- Keirin Flake and Keirin Sunlight: at least 30 cm
- Frame Builder's Top Wax: Spray onto a microfiber or lint-free towel and apply carefully.
Please always keep all Spray.Bike cans in a vertical position while spraying. When the can is held horizontally, it is the propellant rather than the paint that forces itself into the nozzle, creating a high-pressure jet of paint that spreads unevenly as clumps.
Keep the spray can constantly moving in your hand to achieve an even, even distribution of paint. Don't use too much paint in one layer - you can touch it up at any time! If you want to use the spray can again after a while, do a few test sprays before you get started. If the paint sprays abnormally, the nozzle is probably clogged and needs to be replaced.

polishing
To achieve the best possible results, we recommend carefully polishing all Spray.Bike colours with a kitchen paper or lint-free cloth. By applying light pressure when polishing, you compress the paint layer and strengthen it for everyday use. It's best to do this before the paint is completely dry - i.e. within the first 2 hours after spraying. Be especially careful in areas where two colours meet to prevent accidental mixing.
dry
Be a little patient! Even if the paint layer appears dry after a short time (touch-proof after a few seconds), we recommend allowing the paint to dry completely for at least 12 hours before reassembling your bike.
Dealing with problems
If the paint is applied as a powder in some areas, let it dry briefly, but not longer than 2 hours, and then polish the surface smooth again with a soft cloth.
Too much paint or paint applied in the wrong place? Allow the paint to dry briefly, but no longer than 2 hours. Then use fine sandpaper or an abrasive cloth and slowly remove the paint.
Here again are the spray distances of the individual collections:
Standard colours: 5-12 cm
Pocket Clear, Frame Builder's Transparent Finish, Frame Builder's Smoothing Putty, Frame Builder's Cold-Zinc, Frame Builder's Metal Primer, Frame Builder's Carbon Primer and Frame Builder's Metal Plating: at least 20 cm
Keirin Collection: at least 30 cm
Please do not spray Frame Builder's Top Wax directly onto the frame. Instead, spray it onto a soft cloth and then apply it carefully.
Dealing with stickers and decals
|
Old stickers that you cannot remove and want to paint over: |
Cover with Frame Builder's Smoothing Putty before applying the paint |
|
Old decals you want to paint over: |
Simply apply the coloured varnish |
|
New stickers or decals: |
Stick it over your Spray.Bike paint layer and then seal it with Frame Builder's Transparent Finish |
Note: In very rare cases, the acetone in the transparent finish can affect the ink of the stickers or decals. To check this beforehand, spray a little Transparent Finish on a sticker and observe the result. If the ink runs or melts, you will need to stick these stickers on the clear coat layer.
Use of neon colours
Due to the reflective pearlescent particles, Fluro colours are slightly grainier than other colours.
It is strongly recommended to polish the paint layer with a soft cloth about an hour after painting to create a smooth layer.
Using the Pocket Clears
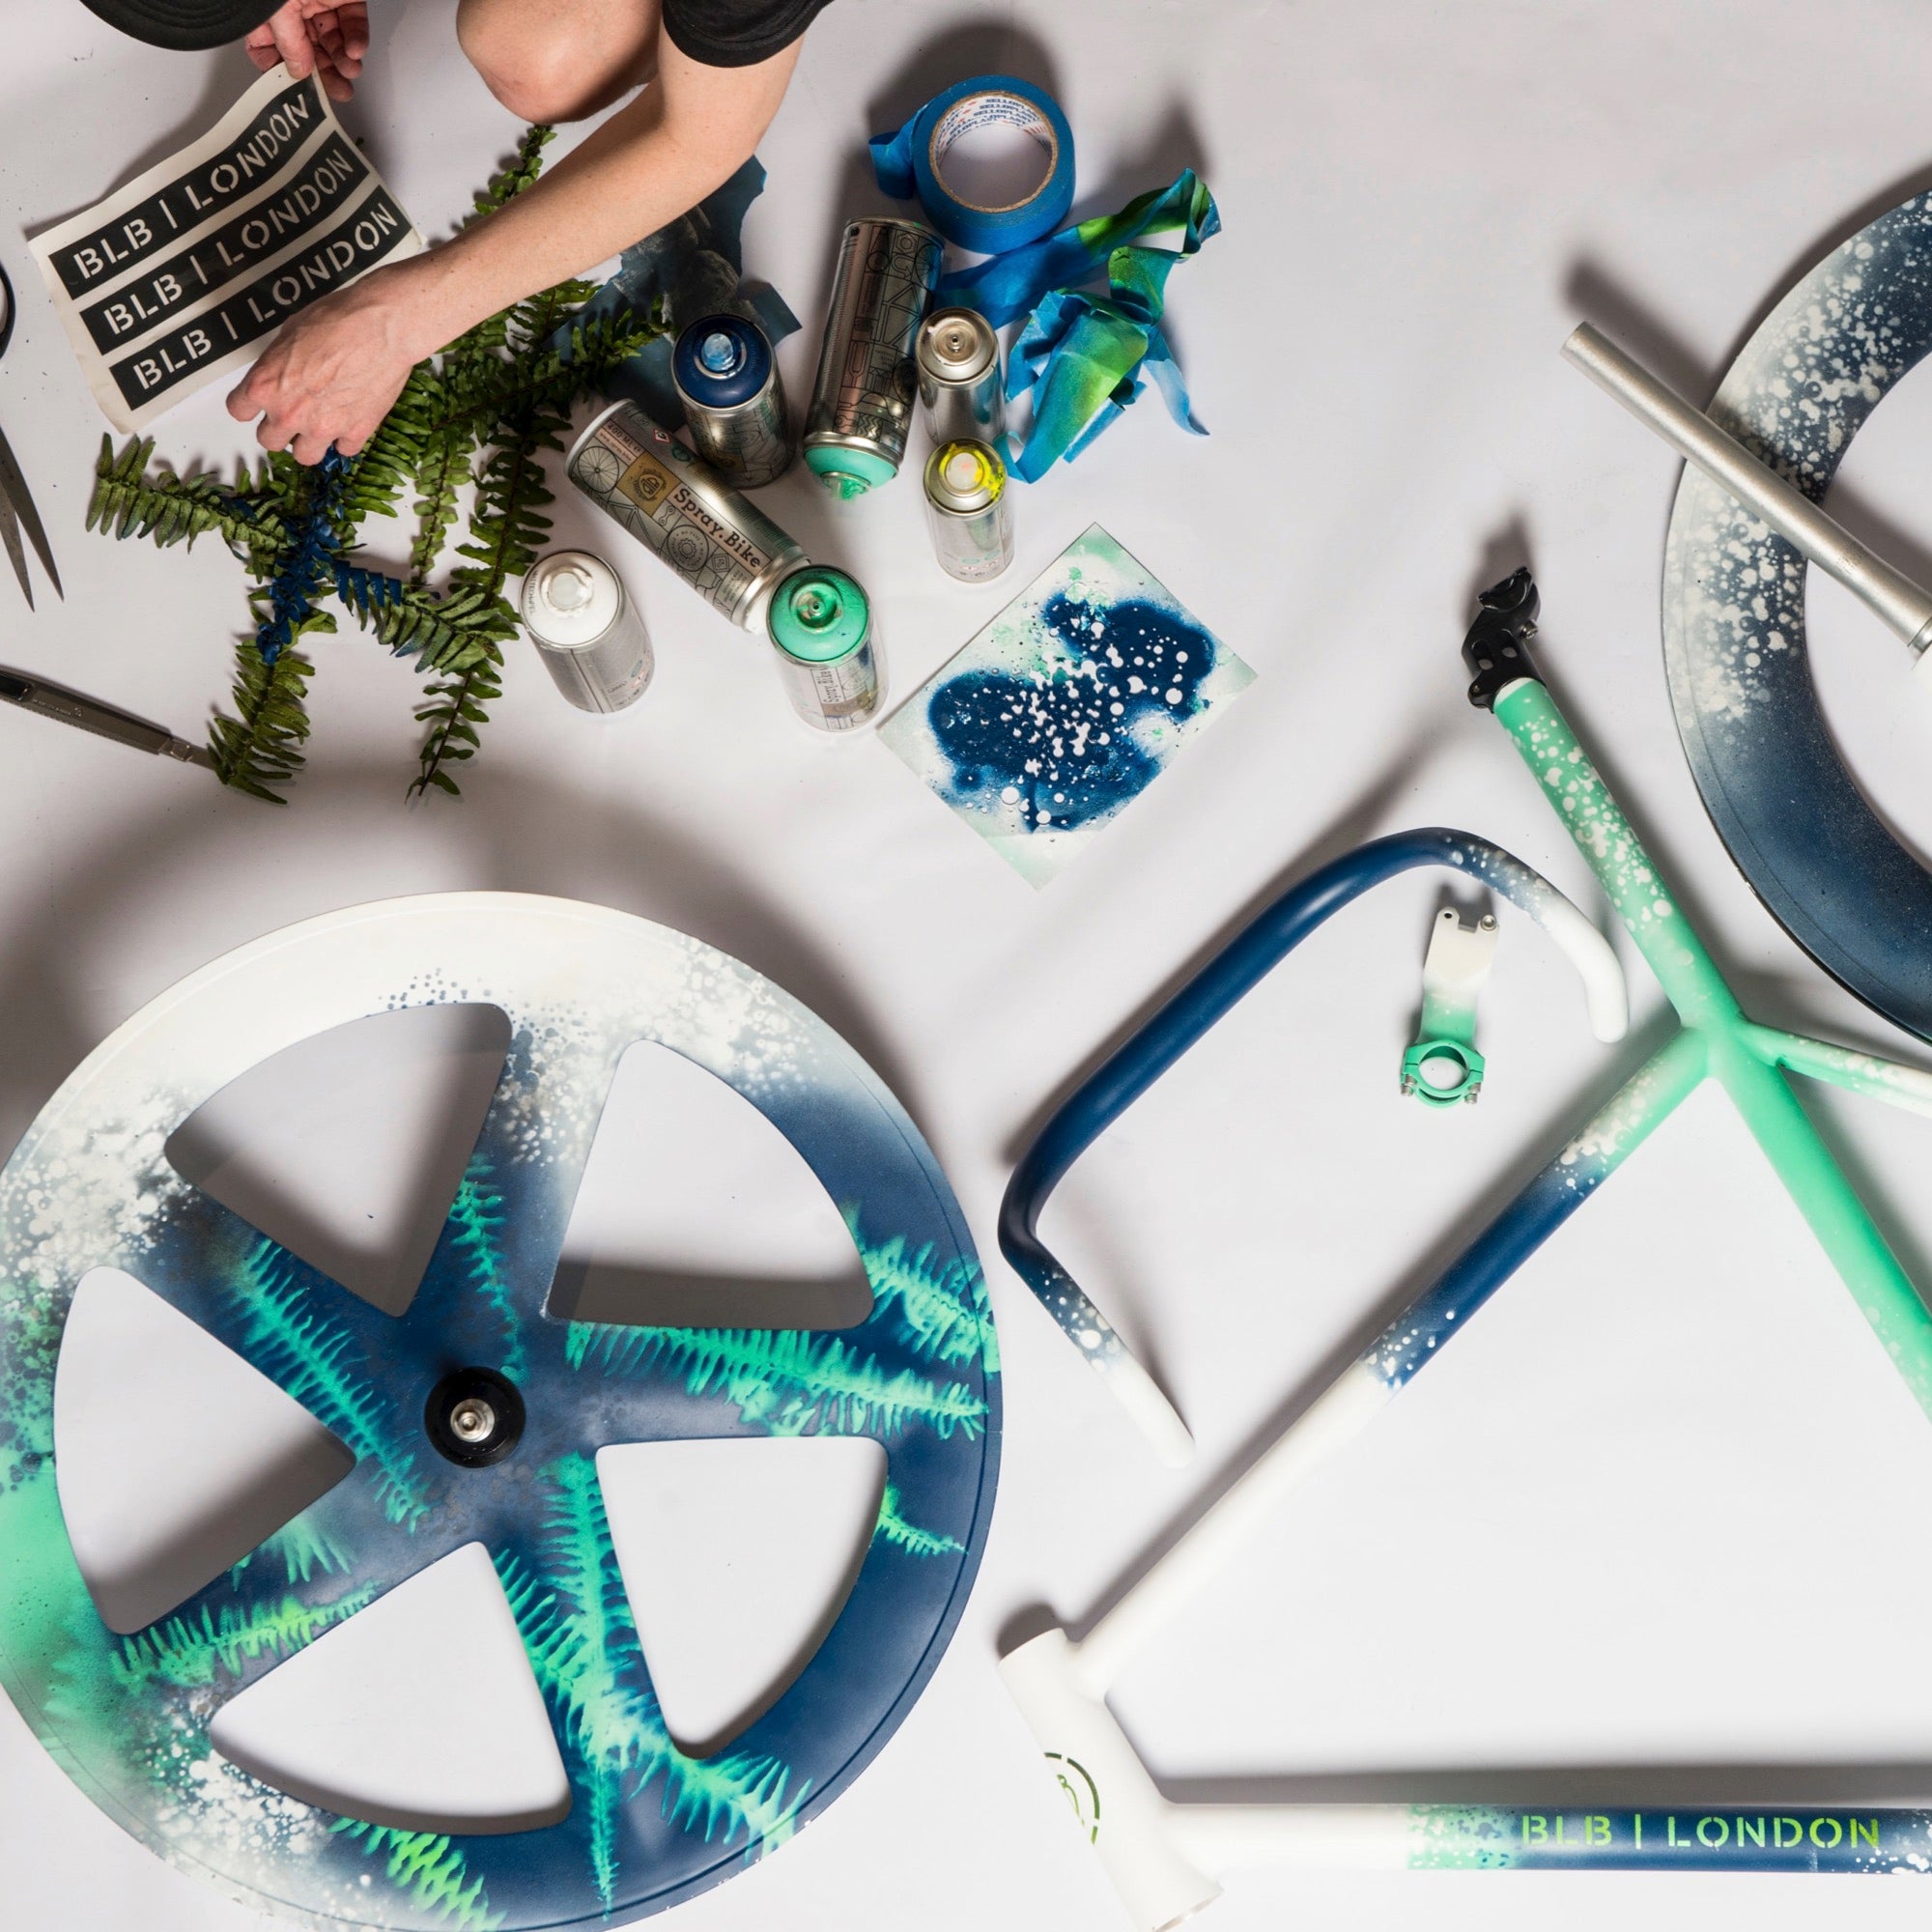
They are perfect for creating a glaze on raw metal pipes by slightly altering base colours, blends and shading (see below - colour Blends & Transitions).
Note that for these Pocket Clears, the spray distance is at least 20cm as they contain Framebuilder's Transparent Finish.
Using the Keirin Collection
The Flake range consists of our Frame Builder's Transparent Finish, which is infused with fine metal flakes. You can choose from 6 different colour options to create a great glitter effect. Simply apply it to a layer of colour of your choice.
In our Sunlight range we have replaced the metal flakes with very fine glass dust. The special thing about it is that the glitter effect only really comes into its own in sunlight. You can also mix several colours together to create wonderful colour effects.
We recommend 2 coats of varnish.
Please remember that the spraying distance is significantly higher than with our other products: at least 30 cm.
Cover and mask
Here click
colour mixing & transitions
Use the Pocket Clears for mixing as they can create a quick and unusual colour change when used in conjunction with (i.e. on) solid colours (especially Neon Clears on solid colours).
The Pocket Clears are a full pigment with a transparent base layer so the final colour is based on the combination of solid/clear, e.g. Fluro Yellow Clear on a blue becomes a green.
Use them where two contrasting colours meet to create a fade. With a little practice you can achieve great results.
Note: Please make sure to maintain a spray distance of at least 20 cm.


Using the Frame Builder's Prep & Finish Collection
Here click
storage
Spray.Bike colours last up to 10 years.
Please store it upright and at below 50°C - so you always have it to hand for small repairs.
inspiration
Would you like to be inspired before you get started?
Click here for photos of the amazing projects people around the world have done with Spray.Bike.
Click here for helpful and inspiring videos.


